


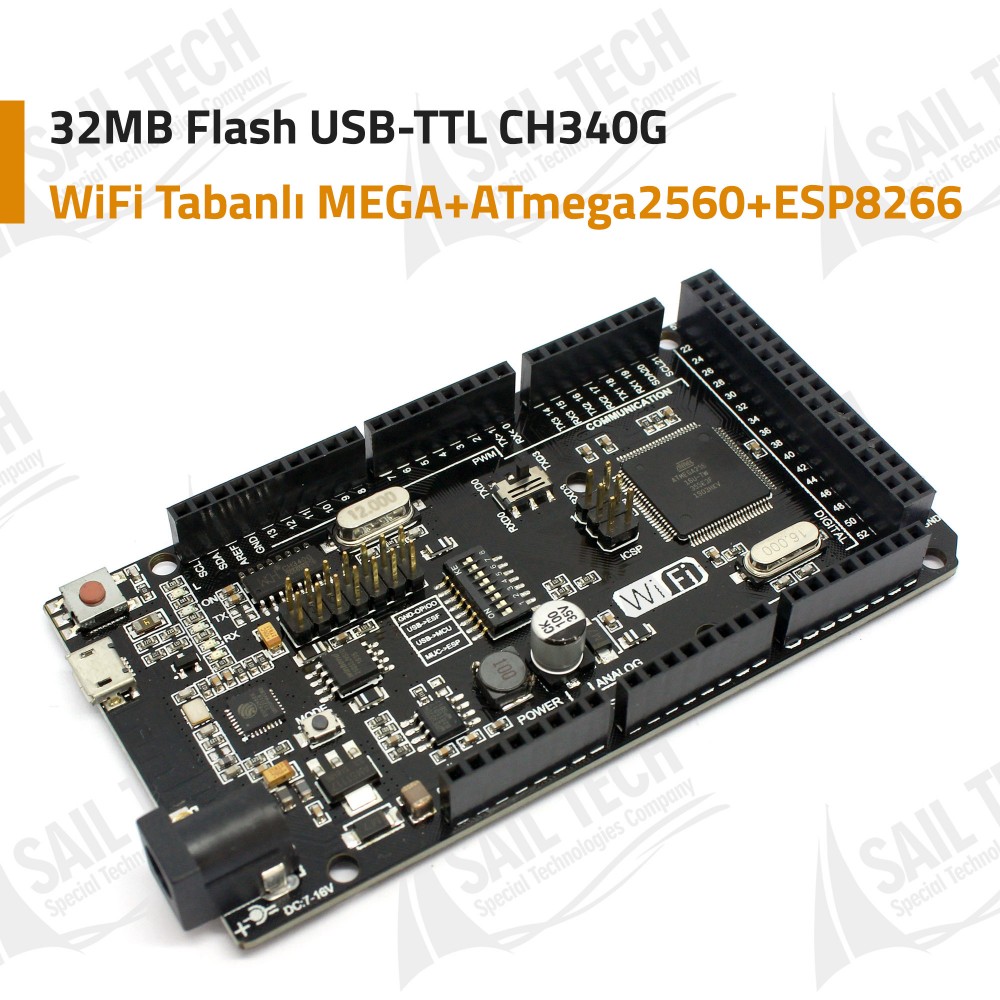


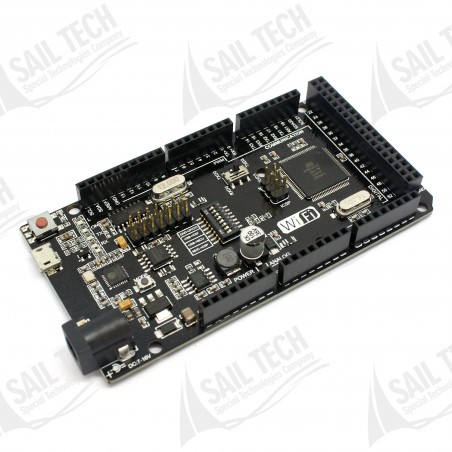
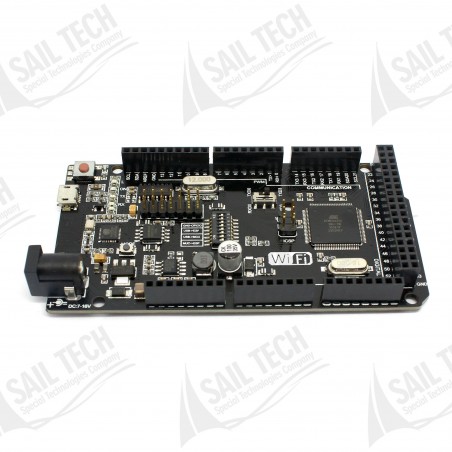

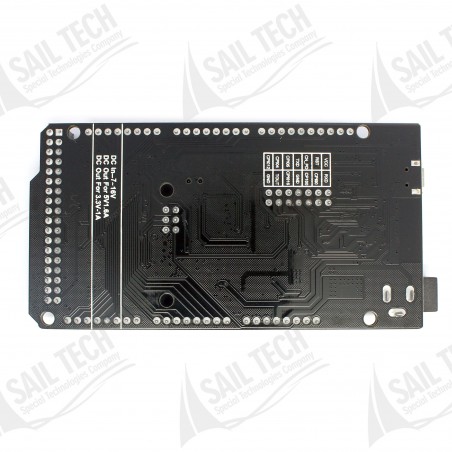
Esp8266 modülü ile birleştirilmiş bir versiyondur. CH340G USB-TTL dönüştürücü ve Esp8266 32mb flaşa sahiptir. Arduino Mega ile aynı boyuttadır. Arduino mega ve Esp8266 modülü ayrı ayrı çalışabilir. Kart üzerinde bulunan 8 adet Dip Switch ile diğer modüller ile bağlantı kurabilir veya ayrı ayrı çalıştırabilirsiniz.
 Secure Payment
 Fast Delivery
 Easy Returns
 Satisfied Customer
The Wi-Fi based Arduino Mega is the version combined with the Esp8266 module. The CH340G has a USB-to-TTL converter and Esp8266 32mb flash. It is the same size as the Arduino Mega. Arduino mega and Esp8266 can operate the module separately.
With the 8 Dip Switch on the card, you can connect with other modules or you can operate them separately.
WiFi-Based MEGA Product Features:
1 |
1 |
2 |
3 |
4 |
5 |
6 |
7 |
8 |
|
CH340 connected to ESP8266 (code upload) |
OFF |
OFF |
OFF |
OFF |
ON |
ON |
ON |
Not used |
|
CH340 (link) connected to ESP8266 |
OFF |
OFF |
OFF |
OFF |
ON |
ON |
OFF |
Not Used |
|
CH340 connected to ATmega2560 (code upload) |
OFF |
OFF |
ON |
ON |
OFF |
OFF |
OFF |
Not used |
|
CH340 connected to Mega 2560 and COM3 connected to ESP8266 |
ON |
ON |
ON |
ON |
OFF |
OFF |
OFF |
Not used |
|
Mega2560+ESP8266 |
ON |
ON |
OFF |
OFF |
OFF |
OFF |
OFF |
Not used |
|
All modules are independent |
OFF |
OFF |
OFF |
OFF |
OFF |
OFF |
OFF |
Not used |
Note: Do not forget to press the "mode" button when loading the Esp8266 module.
Drivers
Windows
https://robotdyn.com/pub/downloads/comp_docs/CH340/CH341SER.ZIP
MacOS
https://robotdyn.com/pub/downloads/comp_docs/CH340/CH341SER_MAC.ZIP
Linux
https://robotdyn.com/pub/downloads/comp_docs/CH340/CH341SER_LINUX.ZIP
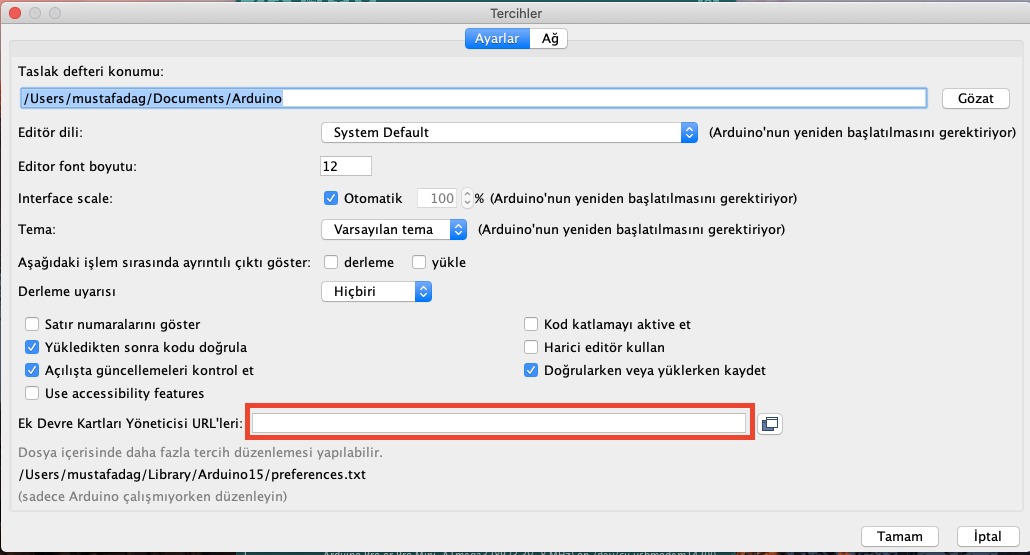
1. STEP
Open Arduino ide File > On the Preferences screen, click on Additional Circuit Boards Manager URLs (Field in Red).
http://arduino.esp8266.com/stable/package_esp8266com_index.json
Paste the link and click OK.
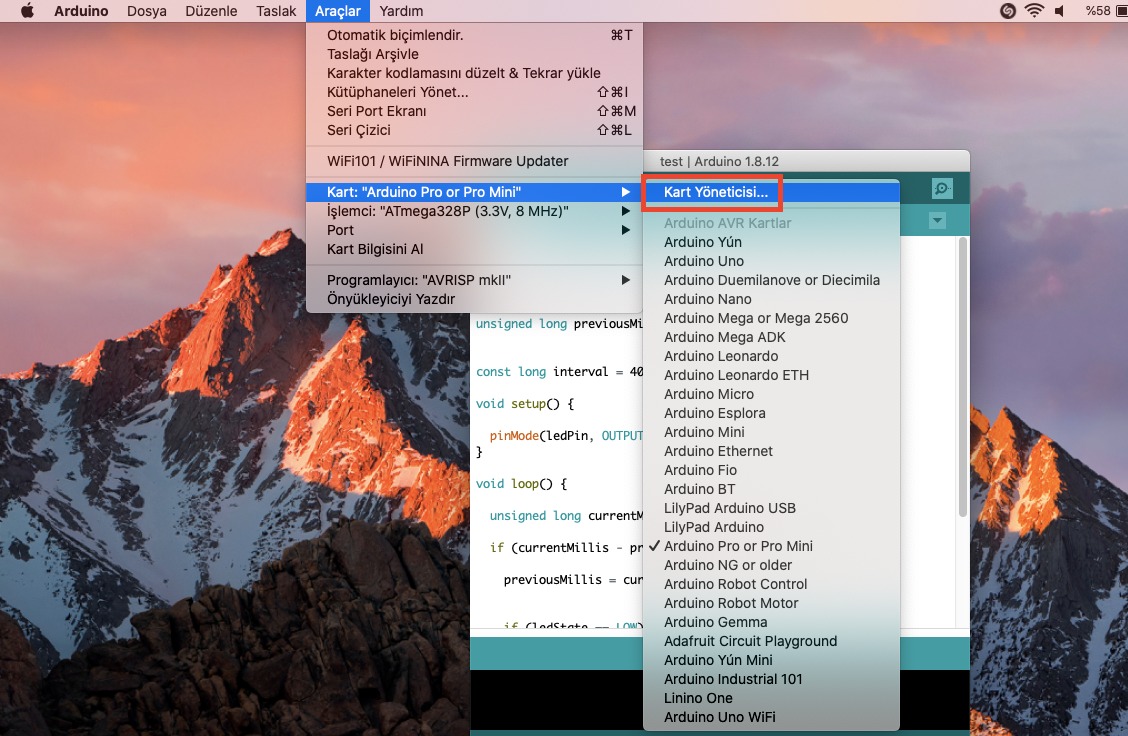
2. STEP
Then Tools > Card > Enter Card Manager
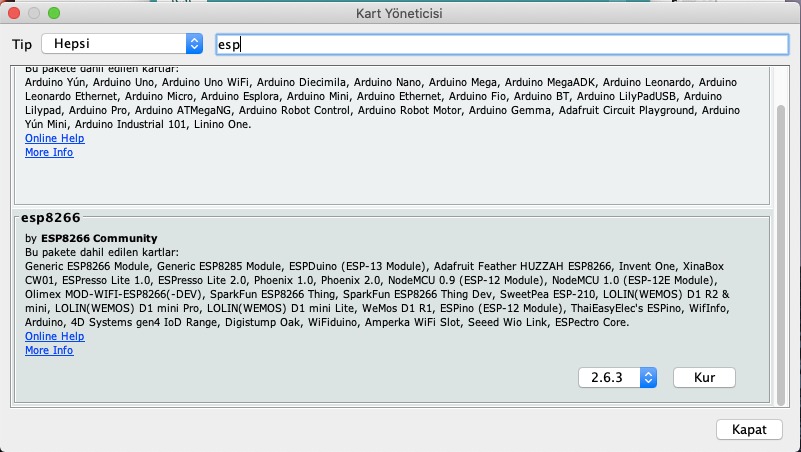
3. STEP
In the card manager screen, type esp in the search box and click ESP8266 Community and install the card.
4 .STEP
After installing the card, Tools > We choose "Generic Esp8266 Module" from the cards.
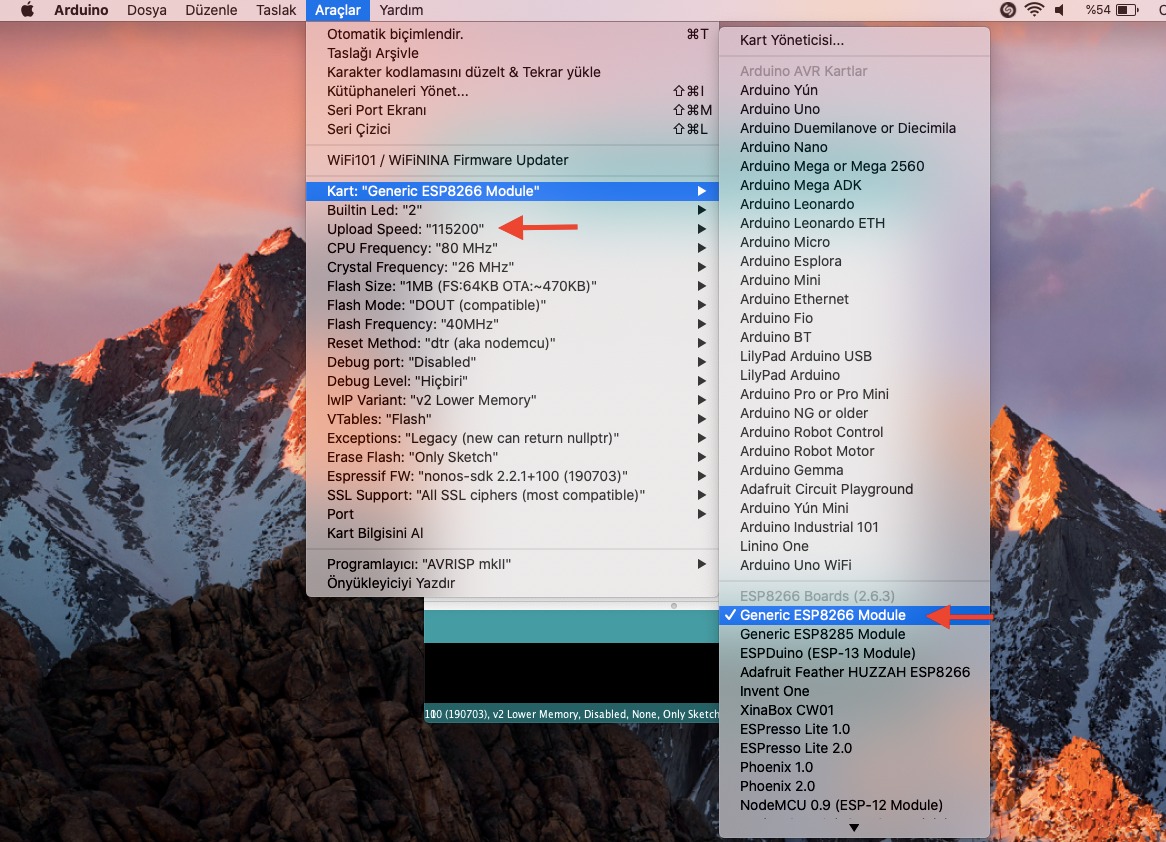
Finally, you can start using the port where the card is inserted.
Sample Codes:
void setup()
{
Serial3.begin(115200);
pinMode(13,OUTPUT);
delay(500);
Serial3.println("AT+CIPMUX=1");
delay(2000);
Serial3.println("AT+CIPSERVER=1,5000");
delay(2000);
Serial3.println("AT+CIPSTO=3600");
delay(2000);
}
void loop()
{
while(Serial3.available())
{
char Rdata;
Rdata=Serial3.read();
if(Rdata=='A'|Rdata=='a')
{
digitalWrite(13,HIGH);
delay(50);
}
else if(Rdata=='B'|Rdata=='b')
{
digitalWrite(13,LOW);
delay(10);
digitalWrite(13,HIGH);
delay(10);
digitalWrite(13,LOW);
}
else
{
digitalWrite(13,LOW);
}
}
}
Esp8266 modülü ile birleştirilmiş bir versiyondur. CH340G USB-TTL dönüştürücü ve Esp8266 32mb flaşa sahiptir. Arduino Mega ile aynı boyuttadır. Arduino mega ve Esp8266 modülü ayrı ayrı çalışabilir. Kart üzerinde bulunan 8 adet Dip Switch ile diğer modüller ile bağlantı kurabilir veya ayrı ayrı çalıştırabilirsiniz.
05/09/2020
mükemmel
harika bir site hızlı kargolama